Camera Obscura:
The word photography comes from a Greek origin φῶς (phos), meaning "light," and γραφή (graphê), meaning "drawing, writing," together meaning "drawing with light." A camera obscura (plural camerae obscurae or camera obscuras, from latin camera obscūra, "dark chamber". Johannes Kepler discovered the camera obscura. renaissance artists used the camera obscura to help aid drawing into perfect prospective. Adding a lens to the camera obscura causes the image to flip or invert. A camera obscura is a dark room with a small hole in one wall. When it's bright outside, light enters through the hole and projects an upside down image of the outside world onto the wall opposite the hole. A simple camera obscura can be made with a box that contains an opening on one side where light can pass through. When light passes through the opening, an image is reproduced upside down on an opposite surface.

The process of making my camera obscura:
Materials: For this practical I used black duck tape, a cardboard tube, tracing paper and a small pin.
In class we made pinhole cameras, I worked collaboratively with my peers to the cut and build our camera obscura, we made sure to communicate and work together as a team to assure our camera was assembled to the best of our ability and that all aspects were precise and in line with each-others ideas.
In my opinion by working with others I found the task at hand to be easy; however, we did originally have complications making sure everything was to size and securing it so no light could get through.
A camera obscura is a room with a hole or lens in a wall that projects a reverse image onto the opposite wall. when bright enough outside light will enter through the hole and then project the image onto the wall upside down.
|
|
|
The videos above explain the science behind pinhole photography and camera obscuras. We made pinhole cameras and used them to explore the development of unique, and original photos.
Abelardo Morrell:
Abelardo Morrell is a contemporary artist well known for his camera obscura work; in 1991 he first began experimenting in his living room by turning it into a camera obscura, he then captures the marriage of both the interior and exterior world in his photography.


|
This is my favourite image as I believe despite following the same theme it still stands out from the others. I like the use of real life ordinary objects amongst the image created by the camera. I also like how this image is monochromatic, I feel that by having a lack of colour it provides a different first impression and gives atmosphere to the image in comparison to the others.
A quote by Abelardo Morell:
|

|
Pinhole camera:
|
How to make a pinhole camera:
We then experimented by making pinhole cameras of our own. For my experiment i chose to use an iphone box, black gaffer tape, masking tape, black paint, black spray paint, and a piece of a can. 1. Get a small box to act as the body of my camera 2. Then paint the whole inside of my box black, this is to avoid reflections 3. Cut a small square on one side 4. After tape a piece of aluminium foil over the hole 5. Then use a small pin to poke a hole in the foil 6. place photopaper or film inside 7. Close the box tightly to ensure no light comes through 8. Take photos by uncovering the pinhole briefly |
|
Justin quinnelle:
Justin quinnell is one of the worlds leading pinhole photographers, he has been practicing and teaching the art of pinhole photography for over 30 years.
Here are some examples of his work:
Here are some examples of his work:


My first impressions:
when I first saw his work I actually found it pretty creepy, however despite its eerie, uncomfortable feeling, I still find his work never the less fascinating. His work is very unique to him and I don't think I've seen an artist use pinhole photography in this way.
when I first saw his work I actually found it pretty creepy, however despite its eerie, uncomfortable feeling, I still find his work never the less fascinating. His work is very unique to him and I don't think I've seen an artist use pinhole photography in this way.
Antimatter - Vjeko sager:


Single image analysis:
|
My first impressions of the photo is that it's interesting; my first initial thought was that the image looked like a fish. I like that the image is sharp yet also has curved edges. The image was created on blank portrait piece of white paper. I like how minimalistic this photo is, i feel as if it gives it a more modern looking aesthetic compared to other unique artists whose work is bursting with colour and story. I also feel that this photo helps to emphasize the fact that art doesn't have to be something that portrays an obvious story, it doesn't have the be something overly vivid, art can be something not only depicted by the artists mind but also interpreted individually by the viewer, allowing room for multiple interpretations and unique views from different perspectives rather then just the one set idea.
|

|
Francis Bruguière:


|
Image analysis:
My first impressions of the image is that its very unique, when I first saw the photo I thought it looked like the human rib cage. I think it's interesting with the process he took and the results he got especially regarding the image the shadow helps to create. In my opinion I like how the image is monochromatic and I think it looks better this way; this also helps to highlight contrast between the shadows and allows a more unique image to be created. |

|
My interpretation:


Evaluation:

|
This is my single image analysis on my interpretation of Francis Bruguiere. I chose this image as I feel it is my favorite out of all the photos I took inspired by the artist. I like this photograph as I think the way the light shines on the paper gives it a certain atmosphere. The atmosphere I am most reminded of is a purple ethereal theme. secondly, I like how the light shining on the paper gives it a purplish/blue tinge, I think that this makes the image more unique then just plain light and shadows; this also allows the photo to have the atmosphere and effect it has rather than a plain photo. Furthermore i think that the colour given to the paper by the light draws your eyes in, because it is so bright and colourful in contrast to the plain white paper you cant help but naturally drift your eyes towards it. I also like how my paper interpretation is quite sharp and defined in contrast to the background yet it isn't overly defined just yet.
|
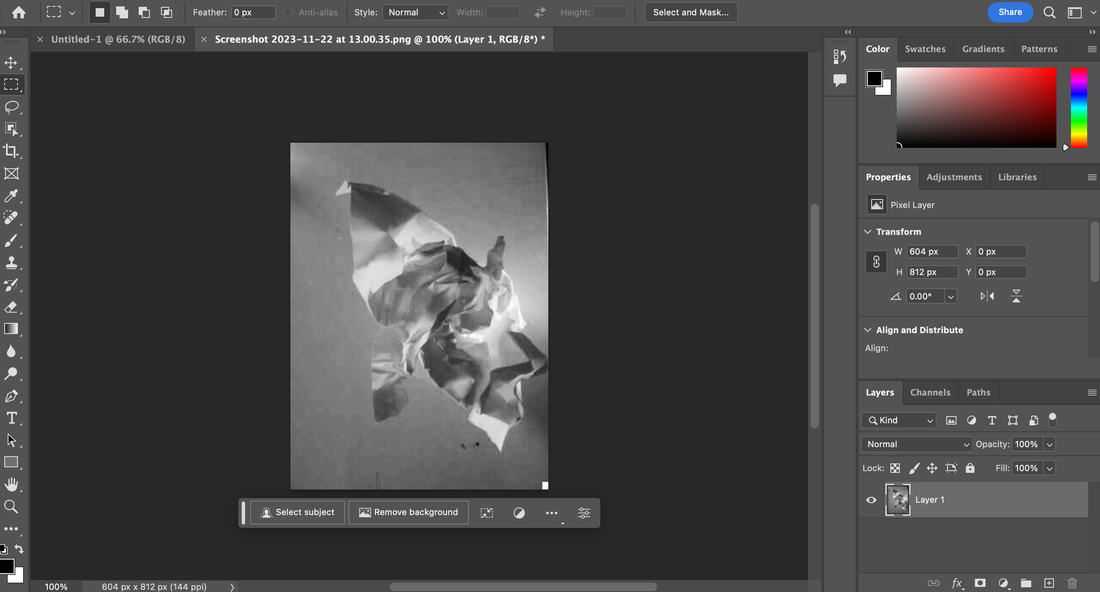
Editing process:
|
I then transferred this photo to photoshop and began my editing process. I started by turning the photo into a monochromatic image. I then increased the brightness to an extent where the image was still visible yet more illuminated to further highlight the areas of light most prominent in my photo. I then also increased the contrast to an extent to help the black / dark points within my photo appear more prominent. This is called contrast, by increasing the contrast it allows my image to appear more sharp and defined, this also helps to draw attention to the points within my photograph that have the most light and the most shadow or no light.
|
|

|
This is the final product of my editing process. I like how this photo turned out, I feel as if the increased contrast really helps my artwork to stand out. Furthermore, I like how different the now edited version of my photo is in comparison to the original photo I took. This new photo gives off a completely different atmosphere in my opinion and can be interpreted much differently then the previously unedited photo, in my personal opinion I think that this is rather interesting, I love how just one simple editing process can completely change an image and its atmosphere. I also like how defined the image has now become and how highlighted the shadows are now, this helps the image to be bold, appear more full and stand out completely different in comparison to the original image.
|
Chasing light:
photograms:
Photograms were made by Man Ray in the early 20th century who then also helped to popularise them. A photogram is just really a fancy way of saying a picture made without a camera, photograms can be created in many different ways however this process is usually conducted by placing objects onto a light-sensitive material ( most commonly paper ), then by exposing your then covered paper to light you're left with a unique silhouette and abstract shapes because of the objects. I like this style of art as I think despite it being rather simplistic it still allows huge room to experiment; furthermore its great that this style of art is quite easy to do as it helps show that you can create amazing photos without a camera and spending way too much time on it. However, it is crucial to be careful when picking which objects you expose, the lighting and the exposure time.
Jocelyn carlin:
Here are a few examples of photograms made by Jocelyn carlin as I liked her work in particular.


How to create your own:
Materials needed:
. a photosensitive material ( typically paper)
. your objects of choice to create the shapes within your image
. A light source to expose them ( most people typically use sunlight or a room light)
Step 1: start by setting up a darkroom/dimly lit area this is so you have time to arrange you objects without exposing the paper
Step 2: place your photogram on a flat surface and arrange your chosen objects
Step 3: Turn on your light briefly to expose the paper
Step 4: develop the paper in a dark room using developer and fixer chemicals
Step 5: rinse and dry your photogram
and there you have it your very own self made photogram.
light as a subject:
Johny Pitts:
Johny pitts is an artist from sheffield who mainly takes photos of family, friends, and ordinary people. His photos are mainly in black and white.
Johny pitts is an artist from sheffield who mainly takes photos of family, friends, and ordinary people. His photos are mainly in black and white.


single image anyalsis:
|
This is my single image analysis of the artist Johnny pitts. As soon as we were asked to explore which artist we were going to pick, immediately his profile stood out to me. The first impression i got from the photo was that it was kind of mysterious, and if anything the way the photo is dark and from behind someone gives it a sense that they're being stalked / watched in a way. Furthermore, I think the photo gives me a sense of journey, out alone desperately trying to be guided by the illuminous street lights. I like how the person in the picture is also shrouded by fog, in my opinion I feel it helps to emphasise the feelings the person might be feeling in the moment, perhaps he's lost and the fog acts as an image to show he's clouded by his own thoughts and physically is experiencing a feeling of claustrophobia with no sense of where to go. I also like the contrast in the photo, by having having his photos in black and white it helps to add to the more mysterious, ominous vibe; and perhaps how the dark also helps to draw attention once again to the fear they might be experiencing. However, I also find this photo rather pretty, something about it to me kind of romanticizes the place they're walking through and makes it look rather peaceful and cinematic.
|

|
My interpretation:
For my interpretation i decided to work both collaboratively with my friends to take photos around school and by myself to capture ordinary people and unique landscapes to help construct my piece.


One particular thing i liked about the artist was his use of black and white images, therefore as i took inspiration from his work i opened up photoshop and began the editing process of also turning my photos black and white.

Here are the finished products:


